
When we gutted our basement 3 years ago, I took a dresser that I’d been using since college and decided to give it a makeover – I converted it from a dresser and into a gift wrapping station. Unfortunately, I didn’t take any “before” photos but I found a dresser online (see below) that looks similar to how this dresser looked before.

I inherited the dresser from my grandparent’s Chicago apartment. The wood veneer was cracking on the top and it had scratches and nicks in the wood from being well-loved over the years. Because of the condition it was in, I didn’t feel badly covering it in paint.
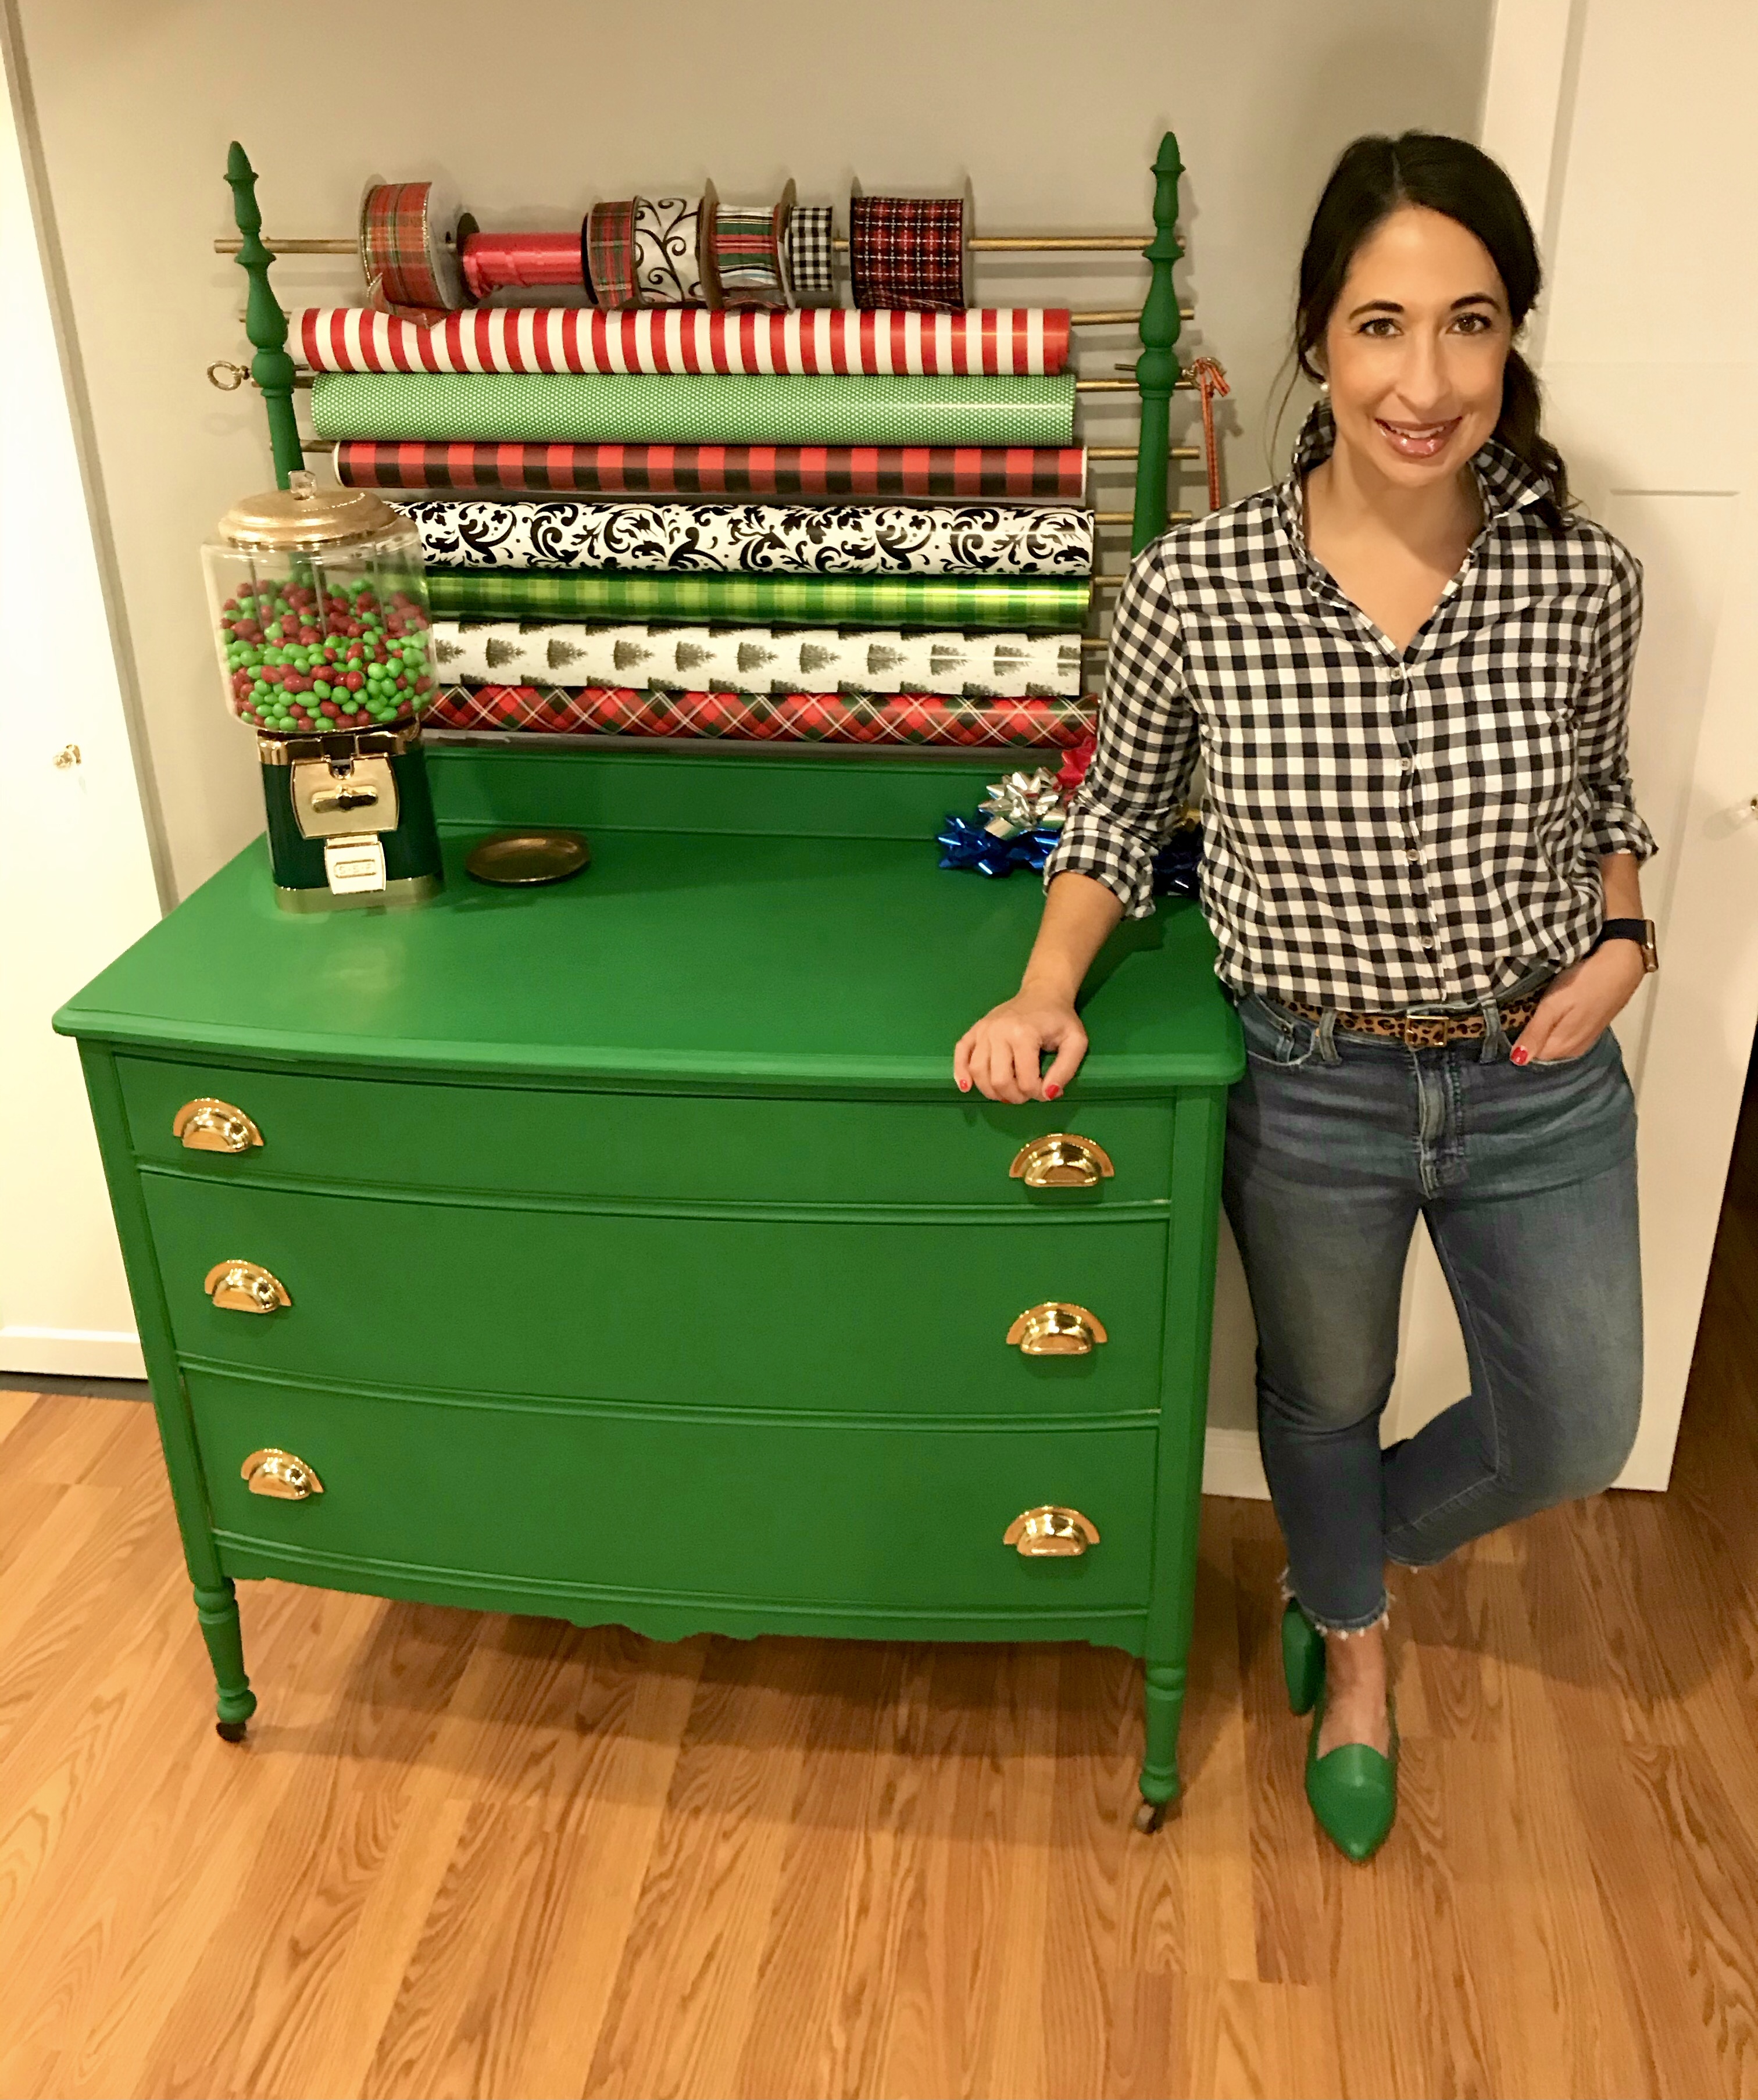
If you want to create a similar wrapping station, an old dresser with a mirror attached works great. The posts that hold the mirror are perfect to hold your wrapping paper and ribbon.

I chose the statement Kelly green paint because the wrapping station was going in our basement, which I was keeping light and bright to make up for the lack of natural light. I chose bright geometric pillows from the Trina Turk Home Store (pictured below), which I pulled the green from for the wrapping station. The walls are light grey and the trim is all white.
If you’re interested in seeing a few photos of the basement before, during, and after the remodel, I’ve added a photo gallery to the bottom of this post.
Now, back to the wrapping station! To get started, I moved the dresser out to our garage, laid down a drop cloth, and wiped everything down with a wet rag. I removed the whole back of the dresser – mirror and posts – so I could paint and retro fit the dowel rods at the end to hold the wrapping paper.

I chose to use Amy Howard Chalk Paint, which you can get color matched at Ace Hardware. The reason I like chalk paint is that I don’t have to prime the furniture in advance, I can just start painting! The dresser took two coats of chalk paint and I sealed it with a polyurethane spray at the end, which I would highly recommend. The polyurethane spray gave it a nice semi-gloss look and seals the paint so you can set a glass on it and it won’t leave a mark.

Next, I purchased: a can of gold spray paint, dowel rods, and brass screw-in hooks. I sprayed the dowel rods gold. You’ll want to make sure that the diameter of your dowel rods fit the diameter of your hooks. My handy husband helped me cut the rods to fit the width of the posts and helped me screw in the hooks to the posts. We chose to attach the hooks to the back of the poles to keep the look cleaner from the front. After measuring the width of the wrapping paper, we spaced each dowel rod three inches apart and were able to fit eight rods.

Next, I sprayed the old metal mirror holders gold like the dowel rods and used ribbon to attach scissors and a single hole punch to it. A pet peeve of mine is when I can’t find scissors when I need them…this way, they can’t walk off! 🙂


After the paint on the dresser was dry, I added the brass pulls. Here are the exact pulls from Amazon.
At the very end of the project, before I put all of my wrapping supplies in my new wrapping station, I lined the drawers with…what else?! Wrapping paper! You could use your favorite wrapping paper, contact paper, or leftover wallpaper to line the drawers.

Finally, add your favorite wrapping paper to the rods and you’re set! An unexpected bonus of this project is that the rolls of wrapping paper decorate the space nicely.
The brass pulls and the chalk paint were the two parts of this project that cost the most; converting this dresser I already had into a wrapping station was a low-cost project that packs a big punch in our basement! Let me know what you think in the comments section and check out more photos of the project below! Happy wrapping!


